Continuous surface microcement floors, their use in environments such as bathrooms, living rooms or swimming pools.
Microcement is the perfect covering for those who want a continuous, modern and tactile surface, capable of making any environment special and exclusive, modern, exclusive, classic or rustic.
Microcement can be applied to ceramic, concrete, wood or other surfaces and in a few millimetres of thickness, it allows you to renovate and recreate surfaces and environments.
It is ideal for vertical or horizontal surfaces, such as brick walls, plasterboard walls or stairs, steps, bathrooms and showers and is minimal as it allows for continuous internal and external surfaces to be obtained, without any joints.
Thanks to the specific dyes it is possible to create combinations of colours, intensity and tones, enhancing the aesthetics of the surfaces without limits.
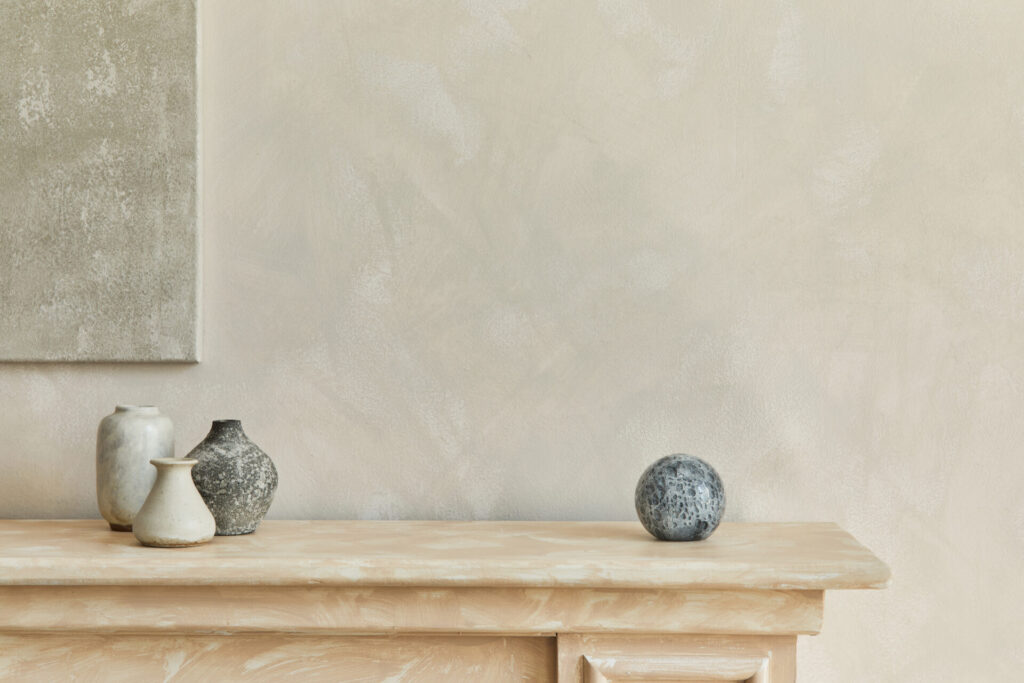
Personality of the environment thanks to unique finishes, with a strong aesthetic impact thanks to artistic, cloudy, acidified effects with glazes created by the unique hand of the artisan applicators.
Essentially, thanks to MICROCRETE microcement, it will be possible to redefine an environment quickly by creating continuity between horizontal and vertical flooring and with no changes in height in the case of real complete renovations.
You will have multiple color choices available thanks to a vast color palette and you will have a unique, exclusive environment, just yours and handcrafted.
How to make a microcement surface
The creation of a low thickness surface with a high decorative effect with a cloudy or spatula-effect concrete finish is obtained by applying layers of MICROCRETE microcement (a two-component hydraulic binder mixture) with different grain sizes using a steel spatula. Below you will find a complete guide on how to create your continuous surface.
MICROCRETE: microcement step by step application method
1) Surface preparation
This phase is very important: the surfaces must be correctly prepared and roughened by sanding or grinding; they must be clean, free from dust, oil, grease, loose parts, paint and anything that could harm the adhesion of the product.
For poorly absorbent surfaces such as ceramic, after the initial preparation it is recommended to proceed by skimming with UNICO TRIEPOXY primer, interposing a synthetic reinforcement mesh.
2)Check the relative humidity status
It is of fundamental importance that the substrate on which the product will be applied is free of residual or rising humidity and in any case with a RH (relative humidity) rate lower than 2% in order to avoid the appearance of unwanted chromatic variations.
The surfaces could therefore be dry or damp and it will be necessary to proceed with similar application techniques but with different preparatory products:
How to apply Microcrete microcement Low thickness with spatula effect for internal and external environments (thickness 2.5 – 3mm)
on dry surface
- Surface preparation by sanding or smoothing
- Laying a fiberglass mesh
- Prime the substrate with FEDERPRIMER (mixed with 30-40% with 0.1-0.3 silica sand) applied using a smooth American spatula.
- Proceed with sowing of silica sand 0.1 – 0.3
- PRODUCT PREPARATION: coloring: add the necessary coloring (color toner) into comp. B (liquid part) and mix very well.
- Once the product is homogeneous and uniform, proceed by slowly pouring comp. B into comp. A while stirring and continue until homogenization is achieved, correcting the density with small additions of water.
- Apply 1 coat of microcement MICROCRETE TOP BASE using a smooth American spatula
- let the layer dry
- Once hardened, sand gently with a rotary sander using fine sandpaper to remove any ridges.
- Apply a coat of microcement MICROCRETE TOP FINE using a smooth American spatula
on a wet surface
- Surface preparation by sanding or smoothing
- Laying out fiberglass mesh
- Prime the substrate with UNIQUE TRIEPOXY (mixed with silica sand 0.1-0.3) with a smooth American spatula.
- Proceed with sowing of silica sand 0.1 – 0.3
- PRODUCT PREPARATION: coloring: add the necessary coloring (color toner) into comp. B (liquid part) and mix very well.
- Once the product is homogeneous and uniform, proceed by slowly pouring comp. B into comp. A while stirring and continue until homogenization is achieved.
- Apply 1 coat of microcement MICROCRETE TOP BASE using a smooth American spatula
- Sand (once hardened) any ridges/excesses
- Apply 1 coat of MICROCRETE TOP FINE using a smooth American spatula
How much product do I need to create a Microcrete microcement surface?
The consumptions are indicative and obviously change according to the cycles required, on average it can be said that the following materials are needed to create a continuous surface without joints
Dry surface cycle
- FEDERPRIMER: 1 coat, 0.500gr/m2
- MICROCRETE TOP: 1 coat, 1Kg/m2
- TOP FINE MICROCRETE: 1 coat, 0.300gr/m2
- POLYLUX/AQ: 1 coat, 0.100g/m²
Wet surface cycle
- UNICO TRIEPOXY: 2 coats – 0.600gr/m2 the first coat + 0.400gr/m2
- MICROCRETE TOP: 1 coat, 1Kg/m2
- TOP FINE MICROCRETE: 1 coat, 0.300gr/m2
- POLYLUX/AQ: 1 coat, 0.100g/m²
How to protect the surface made with Microcrete microcement
The surface created can be protected and finished with various types of impregnating agents, applying them subsequently between 24 and 48 hours after completing the creation with MICROCRETE microcement and with a coating that has reached a humidity level lower than 5 % measured with instruments suitable for this purpose.
The protective finish must be chosen based on aesthetic needs but above all based on the technical needs of where the coating is being created. As a matt or glossy finish, you can proceed by applying the product POLYLUX TR/F transparent (solvent based) or POLYLUX AQ (water based) or POLYLUX FINISH opaque acrylic-polyurethane system, or with protective opaque wax EXTRA MATT.
Federchemicals leader in the development of products for the treatment of concrete floors